

Reducing Firmware Size with CMake Dead Code Elimination
October 08, 2026
8 min
Technical debt in embedded firmware isn’t just messy code — it’s the HAL layer that couples business logic to a specific MCU vendor, the interrupt handler that grew 500 lines because “it was faster to add here,” and the build system that only works on one engineer’s machine. Left unchecked, it turns every feature request into a week of archaeological excavation.
The embedded context makes this harder: you can’t just spin up a staging environment. Hardware is physical, timelines are rigid, and “it works on my board” is the default test strategy. But the principles of incremental refactoring still apply — you just need seams that work without a JTAG probe.
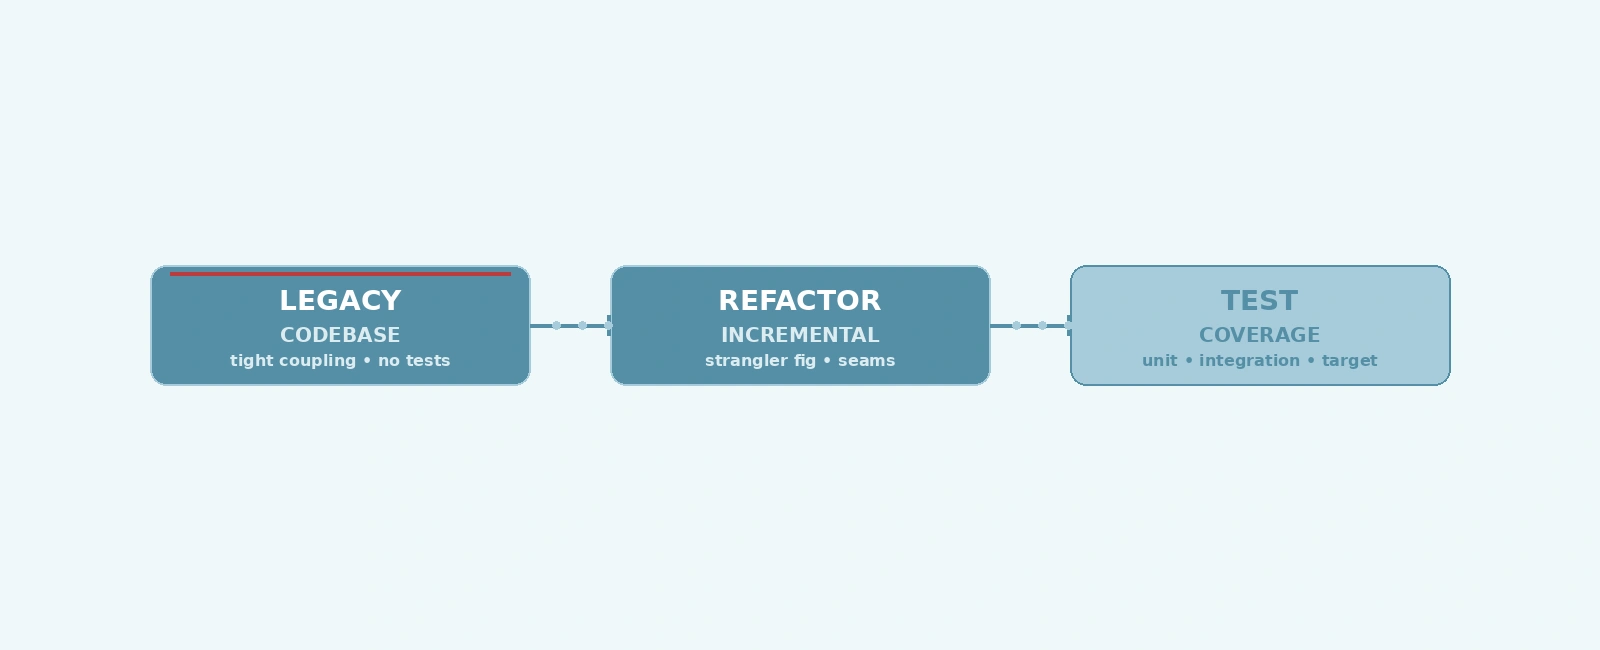
The strangler fig pattern, coined by Martin Fowler, is the single most effective strategy for embedded legacy migration. Instead of a big-bang rewrite, you build a facade around the legacy module, route new calls through it, and gradually migrate functionality behind the facade.
/* legacy_adc.h — the facade */typedef struct {uint16_t (*read_channel)(uint8_t channel);int (*init)(void);void (*deinit)(void);} adc_driver_t;/* Legacy implementation stays untouched */static uint16_t legacy_adc_read(uint8_t ch) { return adc_hal_read(ch); }static int legacy_adc_init(void) { return adc_hal_init(); }static void legacy_adc_deinit(void) { adc_hal_deinit(); }/* New implementation developed in parallel */static uint16_t new_adc_read(uint8_t ch) { return adc_dma_read(ch); }static int new_adc_init(void) { return adc_dma_init(); }static void new_adc_deinit(void) { adc_dma_deinit(); }/* Facade routes based on feature flag */adc_driver_t adc_driver = {.read_channel = USE_NEW_ADC ? new_adc_read : legacy_adc_read,.init = USE_NEW_ADC ? new_adc_init : legacy_adc_init,.deinit = USE_NEW_ADC ? new_adc_deinit : legacy_adc_deinit,};
The key insight: the facade is the seam. Your application code calls adc_driver.read_channel(0) — it doesn’t know or care which implementation runs. You validate the new implementation in CI (host tests with mocks, simulator tests, then hardware) before flipping the flag.
+---------------------------+| APPLICATION CODE || adc_driver.read(0) |+---------------------------+|| Callsv+---------------------------+| FACADE || adc_driver.read_channel() || (function pointer) |+---------------------------+/ \USE_NEW_ADC == 0/ \USE_NEW_ADC == 1/ \v v+---------------------------+ +---------------------------+| LEGACY ADC | | NEW ADC || adc_hal_read() | | adc_dma_read() || adc_hal_init() | | adc_dma_init() || adc_hal_deinit() | | adc_dma_deinit() |+---------------------------+ +---------------------------+
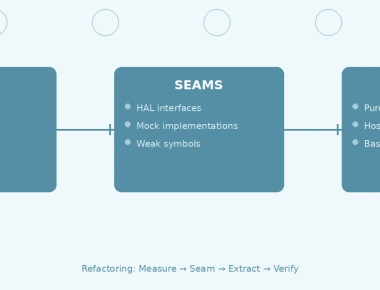
C doesn’t have interfaces or dependency injection frameworks. You create seams with what the language gives you:
/* sensor.h — public API */typedef struct {int (*init)(void);int (*read)(float *out_temp);void (*deinit)(void);} sensor_driver_t;extern sensor_driver_t temp_sensor;/* sensor.c — production wiring */static int tmp117_init(void) { return i2c_write(ADDR, CFG_REG, 0x0220); }static int tmp117_read(float *t) { /* ... */ }static void tmp117_deinit(void) { /* ... */ }sensor_driver_t temp_sensor = {.init = tmp117_init,.read = tmp117_read,.deinit = tmp117_deinit,};/* test_sensor.c — test wiring (same header, different impl) */static int mock_state = 0;static int mock_init(void) { mock_state = 0; return 0; }static int mock_read(float *t) { *t = mock_state++; return 0; }static void mock_deinit(void) { }sensor_driver_t temp_sensor = {.init = mock_init,.read = mock_read,.deinit = mock_deinit,};
/* hardware.c — production */__attribute__((weak)) int hw_timer_init(void) {return timer_hal_init(TIMER2, 1000000); /* 1MHz */}__attribute__((weak)) uint32_t hw_timer_get_us(void) {return timer_hal_get_counter(TIMER2);}/* test_hardware.c — overrides at link time */int hw_timer_init(void) { test_timer_start(); return 0; }uint32_t hw_timer_get_us(void) { return test_timer_us(); }
Compile test binary with test_hardware.c instead of hardware.c — no preprocessor macros needed.
/* config.h — generated by build system *//* #define SENSOR_BACKEND_TMP117 *//* #define SENSOR_BACKEND_MOCK *//* sensor.h */#if defined(SENSOR_BACKEND_TMP117)#include "sensor_tmp117.h"#elif defined(SENSOR_BACKEND_MOCK)#include "sensor_mock.h"#else#error "SENSOR_BACKEND not defined"#endif
Each backend implements the same header. The build system (CMake, Meson) selects the backend per target.
Before you refactor, you need tests that capture current behavior — bugs and all. These are characterization tests, not unit tests in the TDD sense.
/* test_legacy_crc.c — captures current CRC behavior */extern uint8_t data[];void test_crc16_known_vectors(void) {/* These vectors come from the existing implementation */assert(crc16(&data[0], 4) == 0x31C3); /* Known output for input */assert(crc16(&data[4], 8) == 0xA7F2);assert(crc16(NULL, 0) == 0xFFFF); /* Edge case: current behavior */}void test_crc16_streaming(void) {/* Verify incremental matches single-call */crc16_ctx_t ctx;crc16_init(&ctx);crc16_update(&ctx, data, 12);assert(crc16_final(&ctx) == crc16(data, 12));}
Run these against the legacy code. Lock in the behavior. Then refactor the implementation — the tests tell you if you broke anything.
You can’t run hardware tests on every PR. Structure your CI pipeline:
| Tier | Target | Speed | Blocks Merge? | What It Catches |
|---|---|---|---|---|
| 1. Host Unit | x86_64 Linux/macOS | ~30s | Yes | Logic bugs, API contracts, mock interactions |
| 2. Simulator | QEMU/Renode + RTOS | ~5min | No (nightly) | RTOS integration, timing, stack usage |
| 3. Hardware-in-Loop | Target board farm | ~30min | No (pre-release) | Peripheral behavior, analog, power, EMI |
Tier 1 is your gate. Every PR must pass host unit tests. Use CMock, Ceedling, or Unity for mocking. Compile with -fsanitize=address,undefined to catch UB.
# CMake snippet for host testsadd_executable(test_firmware_hosttest_sensor.ctest_crc.csensor_mock.c # Mock implementationcrc.c # Actual implementation (no HW deps))target_compile_options(test_firmware_host PRIVATE-fsanitize=address,undefined-fno-omit-frame-pointer-g)add_test(NAME unit_tests COMMAND test_firmware_host)
Tier 2 runs nightly. QEMU emulates Cortex-M3/M4/M7. Renode supports more SoCs (nRF52, STM32, ESP32). Run FreeRTOS/Zephyr integration tests here.
Tier 3 is your release gate. Before tagging, flash to real hardware. Run end-to-end scenarios: OTA update, deep sleep/wake, communication protocols.
When you pick up a legacy module:
.c/.h with zero hardware dependencies. Test on host.Not all debt deserves payoff. Track it explicitly:
+--------+---------------------+----------+---------------+------------------------------+------------------------------------------+| ID | Module | Severity | Est. Fix Cost | Est. Annual Maintenance Cost | Decision |+--------+---------------------+----------+---------------+------------------------------+------------------------------------------+| TD-042 | bootloader_flash.c | Medium | 3 days | 0.5 days/yr | Defer — stable, replacement in Q3 || TD-017 | protocol_parser.c | High | 5 days | 3 days/yr | Fix — frequent changes, bug source || TD-089 | legacy_i2c_driver.c | Low | 2 days | 0.1 days/yr | Document — read-only, no changes planned |+--------+---------------------+----------+---------------+------------------------------+------------------------------------------+
If Fix Cost > Maintenance Cost × Remaining Lifecycle, document and defer. The register prevents the same debt from being “rediscovered” every six months.
Technical debt in embedded firmware is manageable when you treat it like any other engineering constraint: create seams, characterize before you change, validate in tiers, and track payoff economics. The strangler fig pattern lets you migrate without a big bang. Function pointers, weak symbols, and build-time configuration give you the seams C doesn’t provide natively. Three-tier CI keeps feedback fast without a board farm on every desk. And a debt register stops you from refactoring code that’s better left alone.
The goal isn’t zero debt — it’s debt you understand, can measure, and can pay down when the ROI justifies it.
Quick Links
Legal Stuff