


Building a Personal Brand as an Embedded Engineer
June 17, 2026
2 min
Setting up a home lab is one of the best investments an embedded engineer can make. Whether you are a student just getting started, a hobbyist exploring microcontrollers, or a professional sharpening your skills, having a dedicated workspace with the right tools accelerates learning and makes debugging far less painful. You do not need a professional-grade setup to get started — a few key tools open the door to serious embedded development.
Working exclusively on workbench projects at your day job limits your exposure. A home lab gives you the freedom to experiment with new microcontroller families, try out RTOS configurations, build custom PCBs, and break things without the pressure of a production deadline. Many of the most skilled embedded engineers credit their home labs as the primary environment where they developed deep intuition for hardware-software interaction.
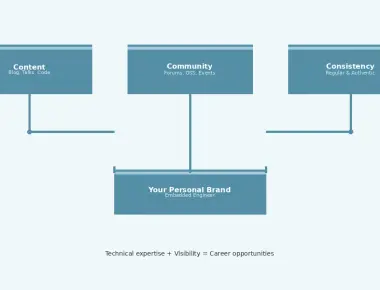
Beyond skill development, a home lab is a powerful career asset. Personal projects built at your bench demonstrate initiative and practical ability in ways that resumes cannot. A GitHub repository with a well-documented sensor fusion project or a custom bootloader speaks volumes to hiring managers.
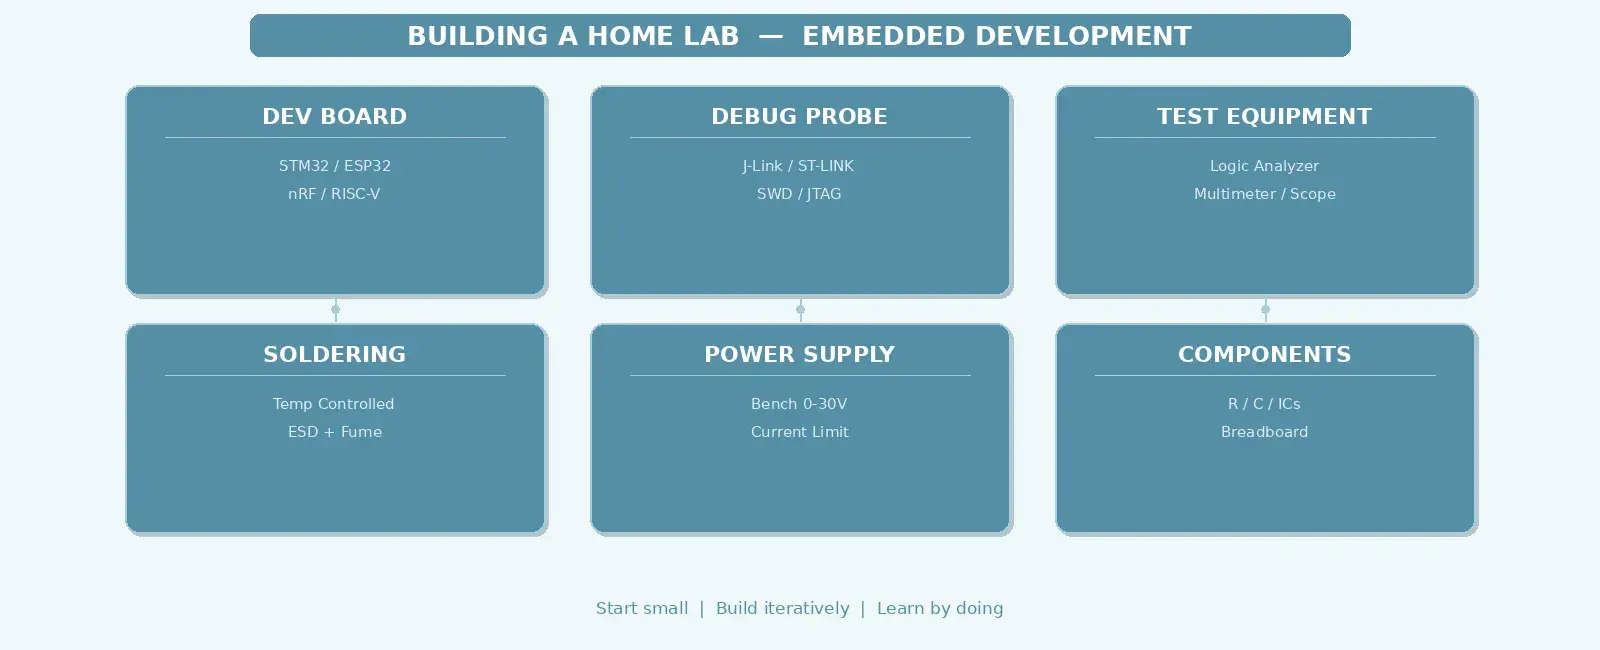
A practical embedded home lab can be built incrementally. Here is a breakdown of the core tools, organized by priority.
These are the minimum tools needed to start writing and debugging embedded firmware.
+------------------------------------------------------------------+| ESSENTIAL HOME LAB |+------------------------------------------------------------------+| || +----------------+ +----------------+ +----------------+ || | Dev Board | | Debug Probe | | Computer | || |----------------| |----------------| |----------------| || | STM32 / ESP32 | | ST-Link / | | VS Code + | || | nRF / RISC-V | | J-Link EDU | | PlatformIO | || +----------------+ +----------------+ +----------------+ || +----------+-----------+-----------+----------+ || | | | || +--v-----------v-----------v--+ || Breadboard + Wires || LEDs, Resistors, Caps || +-----------------------------+ || |+------------------------------------------------------------------+
Development Board: Start with a versatile MCU board. The STM32 Nucleo series (STM32F4 or STM32L4) offers excellent documentation and is supported by virtually every toolchain. For wireless projects, the ESP32-DevKitC is capable and widely available. Nordic nRF52840 development kits are ideal if you want to explore Bluetooth Low Energy.
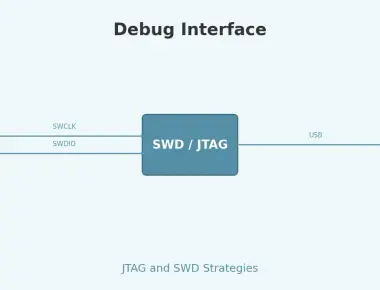
Debug Probe: A debug probe is non-negotiable. The ST-LINK/V2 is widely available and works well with STM32 targets. The SEGGER J-Link EDU Mini is a step up, supporting a wider range of targets and offering faster flash programming. Avoid relying solely on printf debugging — a proper probe with SWD gives you breakpoints, watchpoints, and real-time variable inspection.
Software Toolchain: Visual Studio Code with the PlatformIO extension is the most accessible entry point. It provides a unified build and debug interface across dozens of hardware platforms. For a more vendor-specific experience, STM32CubeIDE (free) or SEGGER Embedded Studio (free for non-commercial use) are excellent alternatives.
Once you have the basics, adding power and measurement tools unlocks a new level of capability.
Bench Power Supply: Adjustable bench power supplies let you power your projects at precise voltages and current limits. A basic 0-30V / 0-5A supply from a reputable brand (Rigol, Korad, or similar) protects your boards from accidental overcurrent. Set the current limit before connecting a new board — this single habit prevents countless fried MCUs.
Multimeter: A decent digital multimeter is essential for verifying voltages, checking continuity, and measuring current draw. The Fluke 117 is the industry standard for reliability, but budget models like the ANENG AN8008 offer excellent accuracy at a fraction of the price.
Logic Analyzer: For protocol debugging (I2C, SPI, UART), a USB-based logic analyzer is invaluable. Low-cost models based on the CY7C68013A chip work with PulseView (Sigrok) software. They capture digital signals in real time and decode protocols, making it trivial to spot timing issues or corrupted frames.
When you are ready to move beyond breadboards, soldering equipment becomes necessary.
+------------------------------------------------------------------+| SOLDERING STATION LAYOUT |+------------------------------------------------------------------+| || +----------------+ +------------------+ || | Soldering | | Fume Extractor | || | Station | | (small fan + | || | (adjustable) | | carbon filter) | || +-------+--------+ +------------------+ || | || +-------v---------+ +------------------+ || | ESD Mat | | Magnifying | || | (grounded) | | Lamp / Loupe | || +-----------------+ +------------------+ || || +-----------------+ +------------------+ || | Solder | | Desoldering | || | (lead-free | | Pump / Wick | || | 0.5mm) | | | || +-----------------+ +------------------+ || |+------------------------------------------------------------------+
Soldering Station: A temperature-controlled soldering station is a significant upgrade over a fixed-temperature iron. The Pinecil (a portable, USB-C powered soldering iron) is a remarkable value. For a traditional station, the FX-951 clone or Hakko FX-888D are solid choices.
ESD Protection: Always work on an ESD-safe mat with a grounded wrist strap. Electrostatic discharge can damage components without any visible sign, leading to intermittent failures that are maddening to debug. A basic ESD kit is cheap insurance.
Fume Extraction: Soldering produces fumes that are harmful with prolonged use. A small fume extractor (or even a fan with a carbon filter positioned near your work area) protects your health and keeps your workspace comfortable.
A well-organized lab is a productive lab. Here are practical tips for setting up your bench:
Component Storage: Invest in a component organizer with small drawers. Sort resistors, capacitors, LEDs, and common ICs by value. Label everything. The time spent organizing is repaid many times over when you can find a 10k resistor in seconds instead of rummaging through a bag.
Cable Management: Use velcro ties or cable clips to keep USB cables, probe wires, and power leads tidy. A tangled bench slows you down and makes it harder to identify connection errors.
Documentation: Keep a lab notebook (physical or digital) where you record pin connections, voltage measurements, and observations during debugging sessions. This habit pays enormous dividends when you return to a project after weeks away.
The best way to learn is by building projects that challenge you incrementally. Here is a progression that covers core embedded concepts:
+------------------------------------------------------------------+| PROJECT PROGRESSION PATH |+------------------------------------------------------------------+| || +--------+ --> +--------+ --> +--------+ --> +--------+ || | Blink | --> | UART | --> | I2C / | --> | RTOS | || | an LED | --> | Echo | --> | SPI | --> | Multi- | || | | --> | | --> | | --> | task | || +--------+ --> +--------+ --> +--------+ --> +--------+ || | | | | || v v v v || +--------+ --> +--------+ --> +--------+ --> +--------+ || | GPIO | --> | DMA + | --> | Custom | --> | Low- | || | Inter- | --> | Timer | --> | PCB | --> | Power | || | rupts | --> | Driven | --> | Design | --> | Modes | || +--------+ --> +--------+ --> +--------+ --> +--------+ || |+------------------------------------------------------------------+
Start with GPIO and LED blinking to verify your toolchain works. Move to UART communication to learn about serial protocols and interrupt-driven I2C or SPI sensor reading. Then tackle an RTOS-based project with multiple concurrent tasks. Finally, design a custom PCB and implement low-power modes — this covers the full spectrum of embedded development skills.
A home embedded lab does not need to be expensive or elaborate to be effective. A development board, a debug probe, and a good software toolchain form the foundation. Add measurement tools and soldering equipment as your projects grow in complexity. Organize your workspace, document your work, and follow a structured project progression that builds skills incrementally. The investment in a home lab pays dividends in deeper understanding, faster debugging, and a stronger portfolio — all of which advance your career as an embedded engineer.
Quick Links
Legal Stuff